

Table of contents
Introduction
In this tutorial, I will guide you through the process of deploying a FastAPI application using Docker and deploying your API on Huggingface. FastAPI is a modern, fast web framework for building APIs with Python 3.7+ based on standard Python type hints. Docker allows us to containerize our application for easy deployment, and Huggingface provides a platform to deploy and share models and applications.
Deployment platforms and the problems I faced
- Vercel
Deploying the APIs on Vercel has been my go-to choice, thanks to its user-friendly interface and the 1 GB memory offered in the free tier. It's been smooth sailing for all my projects, except for one of my projects. The requirements.txt file that contained packages exceeding the combined unzipped size limit of 250 MB causing it to crash.

- Render
Although I have used Render very minimally, I did check this platform since I had a deadline to submit the project in a hackathon and I was desperate to deploy my API. Render works on Python==3.7 and my application had packages that needed Python>=3.9. I forced Render to use Python>=3.9 but this was not all. Applications running on Render's free tier will only be up for 15 minutes and will go to sleep after that.
Due to these reasons, I deployed my API on Huggingface and it was so easy with no issues.
Prerequisites
Basic understanding of FastAPI.
Hugging Face account
Steps
Step 1: Create a new Docker Space 🐳

Next, you can choose any name you prefer for your project, select a license, and use Docker as the software development kit (SDK). There are many docker templates available which you can choose from. I'll start with a blank docker template. Then click on the Create Space button.

Step 2: Set Up Your FastAPI Application
So, now that a new Space has been set up, I'll create a simple application that can generate text given any prompt using Clarifai and Langchain.
The sample app will consist of the following three files:
requirements.txt— Lists the dependencies of a Python project or applicationTextGen/router.py— A Python script where we will write our FastAPI appTextGen/ConfigEnv.py— A Python script where we will handle the environment variables.Dockerfile— Sets up our environment, installsrequirements.txt, then launchesapp.py.
Step 3: Requirements.txt
List the Python packages and their version in a file named requirements.txt.
fastapi==0.99.1
uvicorn
requests
pydantic==1.10.12
langchain
clarifai
Pillow
Step 4: Setting up the FastAPI Application
If you are new to using Clarifai, let me give you a quick intro to the platform.
Clarifai is an AI-powered platform that specializes in Computer vision, Natural Language Processing, LLMs, and all the latest trendy technology solutions. With only a few steps the entire business solution can be built.
The following code defines a FastAPI web application that uses the Clarifai and Langchain libraries to generate text based on user input. The app itself is a simple single-endpoint API. The /generate endpoint takes in text and uses a Langchain pipeline to generate a completion, which it then returns as a response. I have used Cohere's text generation model in this application.
from pydantic import BaseModel
from .ConfigEnv import config
from fastapi.middleware.cors import CORSMiddleware
from langchain.llms import Clarifai
from langchain.chains import LLMChain
from langchain.prompts import PromptTemplate
from TextGen import app
class Generate(BaseModel):
text:str
def generate_text(prompt: str):
if prompt == "":
return {"detail": "Please provide a prompt."}
else:
prompt = PromptTemplate(template=prompt, input_variables=['Prompt'])
llm = Clarifai(
pat = config.CLARIFAI_PAT,
user_id = config.USER_ID,
app_id = config.APP_ID,
model_id = config.MODEL_ID,
model_version_id=config.MODEL_VERSION_ID,
)
llmchain = LLMChain(
prompt=prompt,
llm=llm
)
llm_response = llmchain.run({"Prompt": prompt})
return Generate(text=llm_response)
app.add_middleware(
CORSMiddleware,
allow_origins=["*"],
allow_credentials=True,
allow_methods=["*"],
allow_headers=["*"],
)
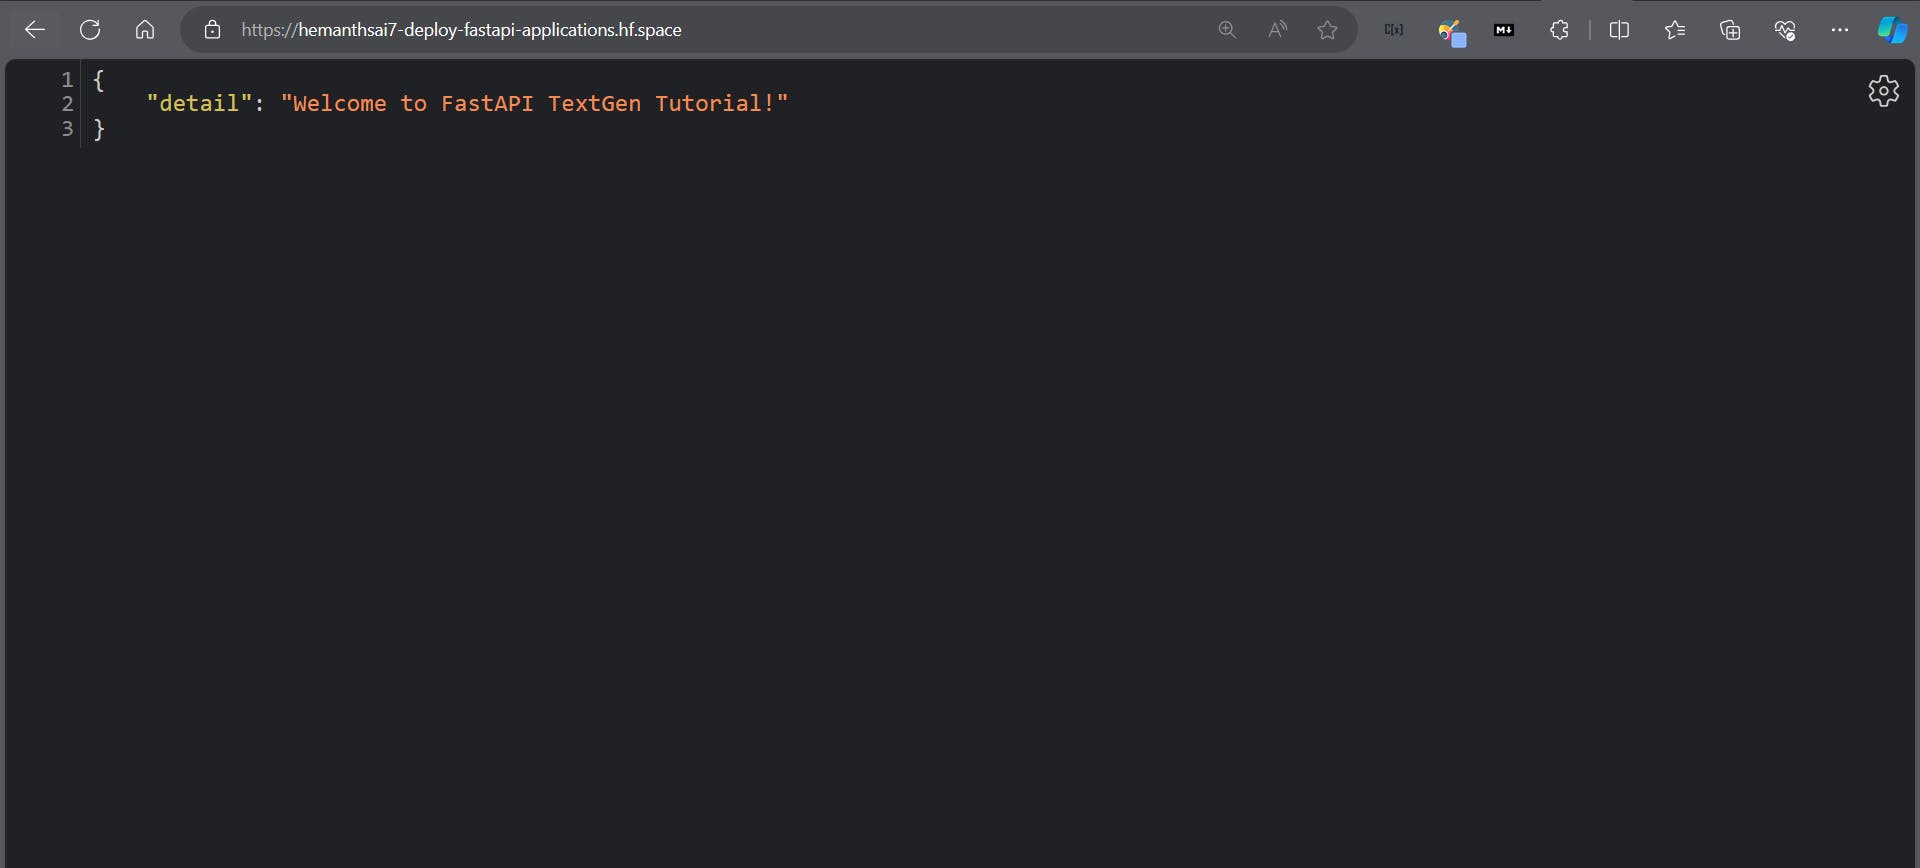
@app.get("/", tags=["Home"])
def api_home():
return {'detail': 'Welcome to FastAPI TextGen Tutorial!'}
@app.post("/api/generate", summary="Generate text from prompt", tags=["Generate"], response_model=Generate)
def inference(input_prompt: str):
return generate_text(prompt=input_prompt)
For the entire codebase, I have linked the TextGen GitHub repository.
Step 5: The Dockerfile!
In this step, we will write a Dockerfile that sets up a Python 3.9 environment, installs the packages listed in requirements.txt, and starts a FastAPI app on port 7860.
Let's understand how a Dockerfile is set up.
FROM python:3.10.9
The preceding line specifies that we’re going to use the official Python 3.9 Docker image as the base image for our container. This image is provided by Docker Hub, and it contains all the necessary files to run Python 3.9.
COPY . .
The preceding line copies all the files from our local directory, hence . to the root directory, hence again . inside the container. So . basically means copying all files from the root directory in the root directory of the container.
WORKDIR /
This line sets the working directory inside the container to / i.e. the root directory. This is where we’ll copy our application code and dependencies.
RUN pip install --no-cache-dir --upgrade -r /requirements.txt
This line uses pip to install the packages listed in requirements.txt. The --no-cache-dir flag tells pip to not use any cached packages, the --upgrade flag tells pip to upgrade any already-installed packages if newer versions are available, and the -r flag specifies the requirements file to use.
CMD ["uvicorn", "app:app", "--host", "0.0.0.0", "--port", "7860"]
This line specifies the command to run when the container starts. It starts the FastAPI app using uvicorn and listens on port 7860. The --host flag specifies that the app should listen on all available network interfaces, and the app:app argument tells uvicorn to look for the app object in the app module in our code.
The complete Dockerfile:
# Use the official Python 3.10.9 image
FROM python:3.10.9

# Copy the current directory contents into the container at .
COPY . .

# Set the working directory to /
WORKDIR /

# Install requirements.txt
RUN pip install --no-cache-dir --upgrade -r /requirements.txt

# Start the FastAPI app on port 7860, the default port expected by Spaces
CMD ["uvicorn", "app:app", "--host", "0.0.0.0", "--port", "7860"]
Once you commit this file, your space will switch to Building, and you should see the container’s build logs pop up so you can monitor its status. 👀
Step 6: Using the application 🚀
If all goes well, your space should switch to Running once it’s done building. Once the Building is finished, you can use the deployed app as shown in the picture.
Click on Embed this space.

Copy the link provided in the Direct URL and paste it into a new browser tab.

Your FastAPI Application is now deployed and is running.
Go to <DIRECT_URL_LINK>/docs to view the Swagger UI.

Demo 💻

Conclusion
This article covered the basics of deploying FastAPI applications on Huggingface via Docker and building a simple text generation app using Clarifai and Langchain. You can use this guide as a starting point to build more complex and exciting applications that leverage the power of machine learning.
Happy Prompting!